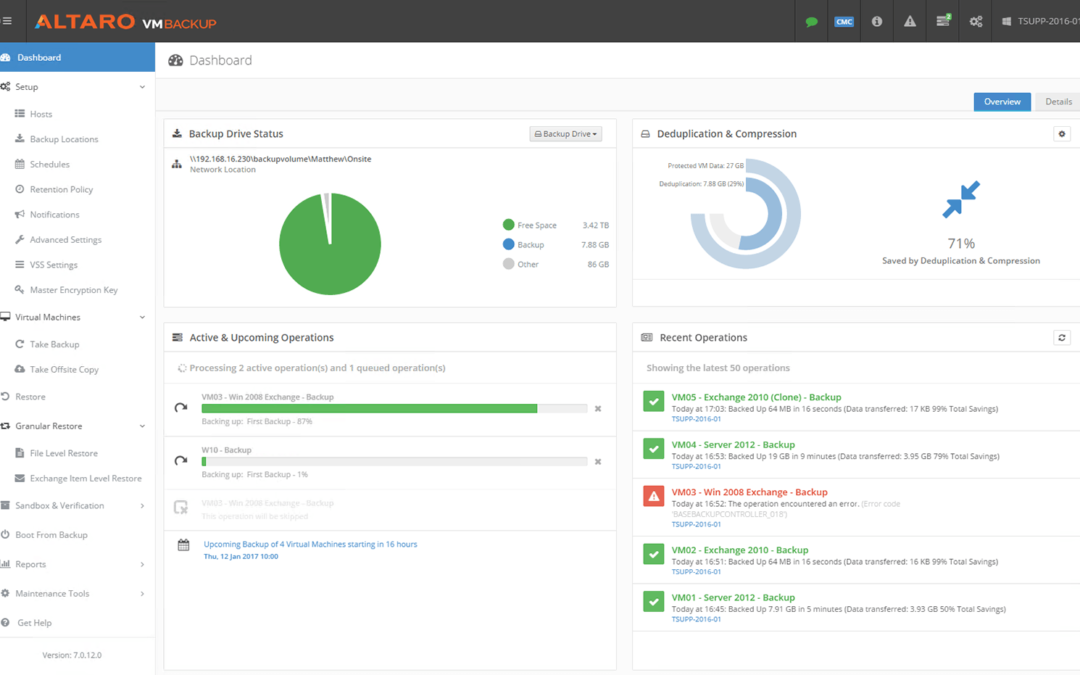

Altaro VM Backup is a powerful and user-friendly backup solution designed specifically for virtual machines. Whether you are a small business or an enterprise, VM Backup provides you with the tools you need to protect your virtual environment. In this guide, we will walk you through the process of downloading, installing, configuring, and activating VM Backup.
Table of Contents
Don’t want to read? Watch a Video showing you step-by-step
Step 1: Download Altaro VM Backup
The first step in getting started with VM Backup is to download the software. Follow these steps:
- Go to the Altaro website at www.altaro.com/vm-backup.
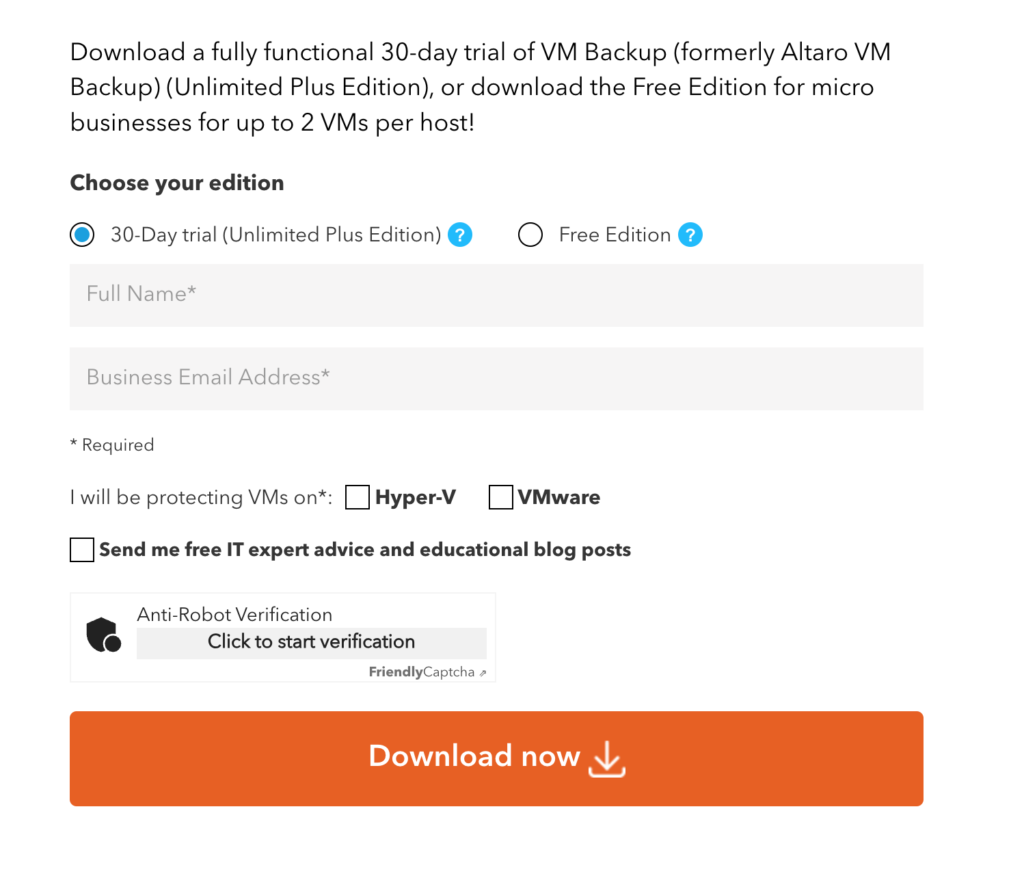
- Select the “30-Day Trial (Unlimited Plus Edition)” option.
- Fill out the form with your name and email address.
- Select your platform (Hyper-V or VMware).
- Decide whether or not to receive marketing material. Tick the box or leave it unticked.
- Click on the “Download Now” button again.
You will receive an email with a download link for the software. Click on the link to start the download.
Step 2: Install Altaro VM Backup
Once you have downloaded the software, you can proceed with the installation. Here’s how:
- Locate the downloaded file on your computer and double-click on it to start the installation process.
- Follow the on-screen instructions to complete the installation.
- Once the installation is complete, launch VM Backup.
Step 3: Configure Altaro VM Backup
After installing VM Backup, you will need to configure it to meet your specific backup requirements. Here are the steps to configure the software:
- On the welcome screen, click on the “Configure Backup” button.
- Select the virtual machine you want to back up by clicking on the checkbox next to its name.
- Choose the backup location where you want to store your backups. You can select a local drive, a network share, or an offsite location.
- Set the backup schedule according to your needs. You can choose to run backups continuously, daily, weekly, or monthly.
- Configure any additional settings, such as encryption or compression, if desired.
- Click on the “Save & Close” button to save your configuration.
Step 4: Activate Altaro VM Backup
In order to use VM Backup, you will need to activate your license. Follow these steps to activate the software:
- On the welcome screen, click on the “Activate License” button.
- Enter your license key in the designated field.
- Click on the “Activate License” button.
- If the license key is valid, you will see a confirmation message.
Congratulations! You have successfully downloaded, installed, configured, and activated VM Backup. You are now ready to start protecting your virtual machines and ensuring the safety of your data.
Remember to regularly monitor your backups and perform test restores to ensure that your data can be recovered in the event of a disaster. VM Backup provides you with the peace of mind knowing that your virtual environment is protected and recoverable.
Installing on Windows Server Core? Here is a guide to get you going
Simply download and follow the Guide to installing Altaro VM Backup on Server Core & Hyper-V Server.